Entry · Ref Q7WZD6WK
How non technical professionals can build a simple AI app
- Posted
- 2026-11-18
- Last amended
- 2026-11-18
- Account
- @everydayailab
Understanding what a generative AI app actually needs
Before diving into any new skill, it helps to know what the finished product looks like. A simple generative AI application is really a small piece of software that takes a user's text input and returns a response produced by a large language model. The user might type a question, paste a document, or describe a scenario. Behind the scenes, the app sends that input to a model (like GPT or Claude) and then presents the reply in a clean interface.
Non technical professionals often imagine they need to write complex algorithms from scratch. That is no longer true. The heavy lifting is done by the model itself. Your job is to decide what the app should do, design a simple user interface, and connect the two. That is a realistic goal for someone with no coding background, especially with structured guidance like a GenAI app building course that focuses on practical outcomes rather than computer science theory.
Professionals who attend such a course often come from roles in operations, marketing, finance, or human resources. They bring domain knowledge that is valuable when deciding what the app should accomplish. The hard part is not the code; it is clarifying the problem you want the app to solve and defining the prompt logic that gets a good answer from the model.
Step one: Define the app workflow on paper
Start by writing down what the user will do and what the app will return. This step requires no software at all. Take a blank sheet of paper or a digital document and sketch the flow. For example, a marketing professional might want an app that generates product descriptions. The user would enter a product name and a few features, and the app would return three short descriptions in different tones.
At this stage, focus on inputs and outputs. What kind of text does the user need to supply? What format should the response have? Do you need a single answer or a list? Do you want the app to remember previous questions, or does each query stand alone? These decisions shape the software requirements before you touch any tool.
What to watch for: do not try to build an app that does too many things. A narrow, well-defined task is easier to build, test, and improve. One common mistake is planning an app that answers any question about your company's products. That is a large project. A better starting point is an app that answers questions about one specific product manual or policy document.
Step two: Choose a no-code or low-code platform
Several platforms let you build an AI app without writing traditional code. They provide drag-and-drop interfaces, pre-built connections to language models, and simple hosting options. Tools like Bubble, Retool, or even custom GPT builders (such as those inside some model providers) remove the need to manage servers or learn programming syntax.
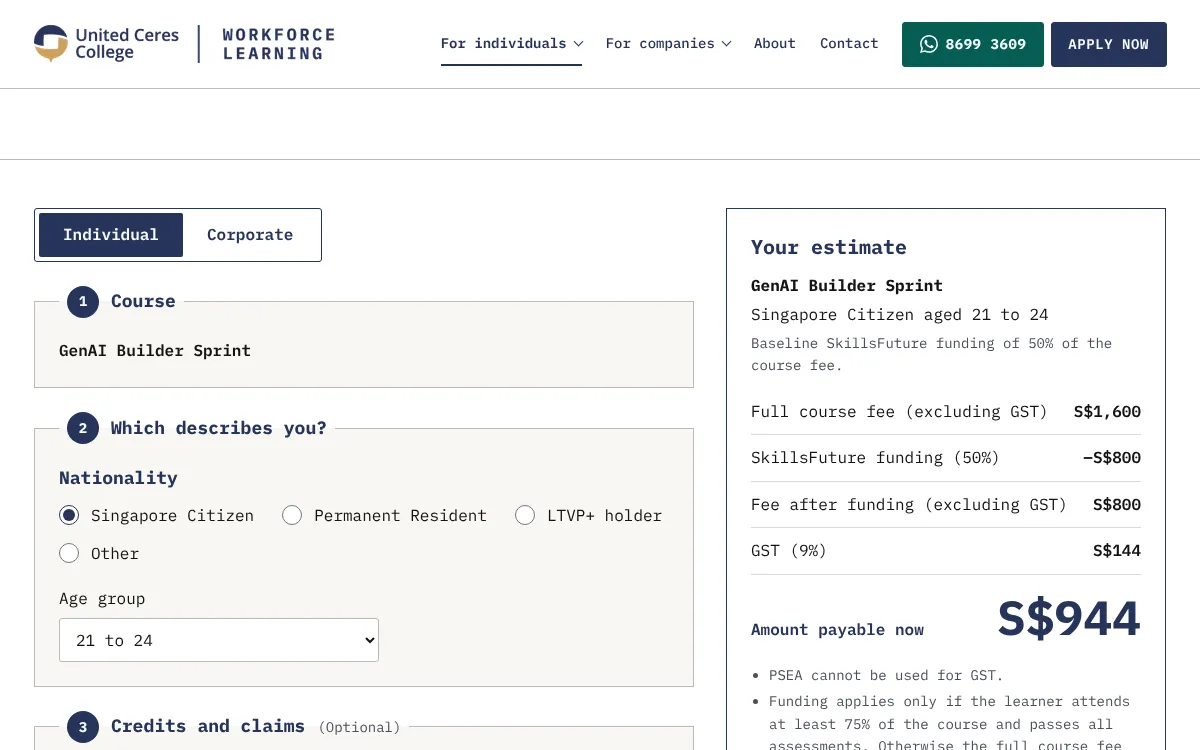
When you choose a platform, think about where your data lives. If the app needs to work with internal company data, you might need a platform that supports secure file uploads or database connections. If the app is for public use, a simpler platform will do. The GenAI app building course that the team at UCC offers introduces participants to these tools hands-on, so you get a feel for what works in each scenario.
What to watch for: avoid platforms that require you to write JSON or edit configuration files unless you are comfortable doing so. Look for a visual builder that lets you define the app workflow by connecting blocks. Also check whether the platform charges per user or per API call, because that affects how you deploy the final app.
Step three: Design a simple user interface
The user interface does not need to be fancy. A single text input box, a submit button, and an area that shows the response is enough for most simple apps. You can add labels and instructions to guide the user, but avoid clutter. Every extra element on the screen is something that can confuse a user or break during testing.
If you are using a no-code platform, you usually drag a text input widget onto a canvas, then a button, then a text output area. You can style them with basic colours and fonts. Keep the layout clean. The goal is to let the user focus on the interaction, not on figuring out the interface.
What to watch for: test the interface on a mobile phone as well as a desktop. Many professionals will open your app on their phone during a meeting or while commuting. If the input box is too small or the button is hard to tap, they will stop using it. Also, include a brief instruction above the input field, such as "Paste your draft below and click Generate." This reduces confusion without needing a manual.
Step four: Write and test the prompt logic
The prompt is the instruction you send to the language model. It is the most important part of the app. A good prompt produces useful answers; a vague prompt produces generic ones. Write a clear system prompt that tells the model its role and the format of the response. Then write a user prompt that includes the input the person typed.
For example, if your app helps write customer service replies, the system prompt might be: "You are a customer service assistant for a retail company. Respond with empathy and offer a solution. Keep replies under 100 words." The user prompt then contains the customer's complaint. The model uses both pieces to craft the reply.
What to watch for: test your prompt with at least five different inputs that cover the range of what users might type. Try unusual inputs - very short, very long, with typos. See if the model's output stays on track. Adjust the prompt wording until the responses are consistently good. This iterative process is often called vibe coding, because you are tuning based on feel and observation rather than formal logic.
Step five: Deploy and share the application prototype
Once the interface and prompt logic work, you need to make the app accessible to others. Deployment means putting the app on a live web address or embedding it in a tool your team already uses. Most no-code platforms offer one-click publishing that gives you a URL. You can then share that link via email, a chat channel, or your company intranet.
Before you share, test the app with two or three colleagues who were not involved in building it. Watch them use it without giving instructions. Note where they hesitate or make mistakes. Their feedback will reveal issues you did not notice, such as unclear labels or a response format that is hard to read.
What to watch for: deployment does not mean the app is finished. Expect to update the prompt and interface based on real use. Keep a simple log of what users ask and whether the responses help them. That data will guide your next version. Also, check the platform's privacy policy. If your app handles sensitive data, make sure the platform processes it securely and does not use it to train the model.
Step six: Iterate based on actual use
The first version of any app is rarely the final one. After a week of use, you will see patterns. Users might ask questions the prompt was not designed for. They might want the response in a different format, such as bullet points instead of paragraphs. They might need the app to remember context from previous questions.
Each improvement is small. Adjust the system prompt to handle the new patterns. Add a second input field if users need to provide more context. Tweak the interface to show the response more clearly. Over a few cycles, the app becomes genuinely useful for your team's daily work.
What to watch for: resist the urge to add every feature suggested. Keep the app focused on its original task. If users want a completely different function, consider building a separate app for that. A simple, reliable app that does one thing well will be used far more than a complex one that tries to do everything.

Building confidence through structured learning
Non technical professionals often doubt their ability to build software at all. The steps above show that the real work is about thinking clearly about the problem, writing a good prompt, and testing with real users. The technical parts - hosting, connecting to an API, managing user sessions - are handled by the platform you choose.
Courses designed for professionals, such as the one offered by UCC, compress this learning into a focused experience. In two days, participants move from an idea to a working application prototype. They leave not just with an app, but with a repeatable process they can use for future projects. That process is what makes the difference between someone who has heard about AI and someone who can actually apply it.
If you are in a non technical role, you already have the most important ingredient: a specific problem that AI can help solve. The rest is just learning the workflow and getting comfortable with the tools. Once you build that first app, the next one becomes much easier.